 |
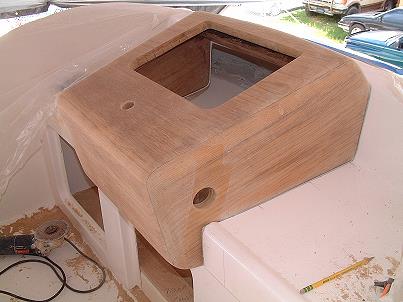
Tuesday morning was spent carefully fitting the console to "Zero Cavity" at Regino Cabrera's shop in Miami. The process is relatively simple provided that the basic fit already exists. It involved cutting away that old console area, scribing the teak to match the fiberglass, and grinding away the excess wood.
Simple, yet very time consuming. Each fitting & scribing brings the console closer to a tight fit. Once the largest gap was down to about 1/8", the console was screwed firmly into place and re-scribed, removed and re-sanded. After nearly 5 hours no gap exceeded 1/16" and that stage of the process ended.
When installed, the console will be bedded with mahogany colored 5200 & screwed into place with a total of 12 #8 screws. This will very securely lock the console in place but still allow it to be removed at some distant date if it ever needs to be refinished from a raw wood stage.
Wednesday's objectives included final sanding, drilling the holes in the lower panel for the start, stop, and battery parallel switches, and applying two coats of epoxy to seal the wood.
Only the top of the rubber dome will project past the flat surface when the electrical buttons are installed. The first coat of epoxy will be thinned with denatured alcohol for maximum penetration into the surface of the wood. I flood the surface pretty well with that epoxy coat, allow it to soak into the wood for about 15 minutes, then wipe away all excess material. That coat is allowed to cure to a tacky stage, the a second un-thinned coat of epoxy is applied.
The second coat of epoxy is applied as heavily as I can make it without it sagging or running. The objective is to both fully seal and build out the grain the wood. This will be left to cure for 48 hours before sanding. Areas needing a courser touch will be done with 180 grit. Then the whole console will be sanded with 220 grit, being very careful not to break through to bare wood, which would necessitate adding a 3rd coat of epoxy & re-sanding. I don't want more than one full strength coat of epoxy...
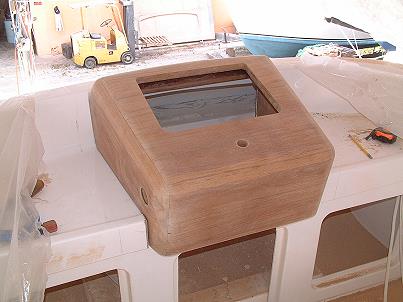 5 hours worth of fitting, scribing, and grinding to fit. 5 hours worth of fitting, scribing, and grinding to fit.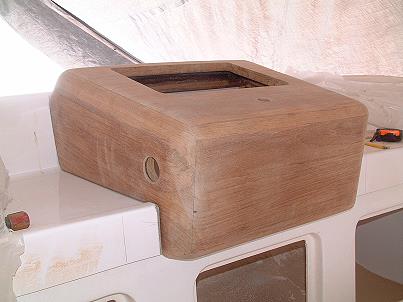 Sealing with epoxy will be the next step. Then shoot 12 - 15 coats of Epifanes varnish. Sealing with epoxy will be the next step. Then shoot 12 - 15 coats of Epifanes varnish. 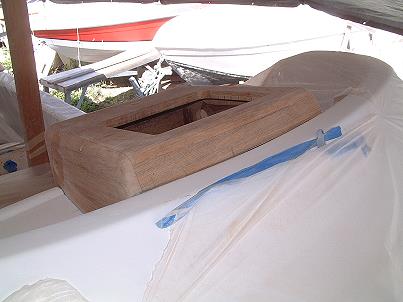  Boring holes for the engine buttons. Boring holes for the engine buttons.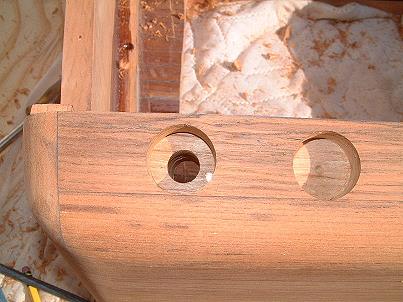 Start (P&S), Stop (P&S), & Battery Parallel in the middle. Start (P&S), Stop (P&S), & Battery Parallel in the middle. 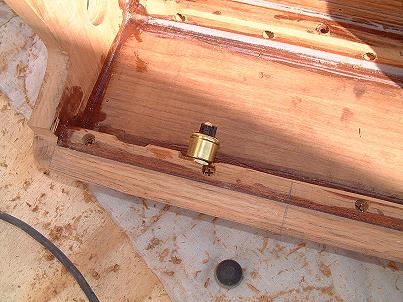 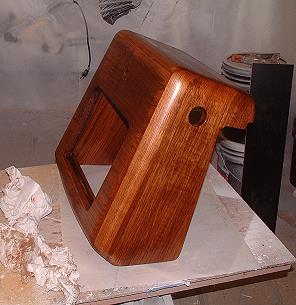 1st coat of thinned epoxy applied and wiped down. 1st coat of thinned epoxy applied and wiped down.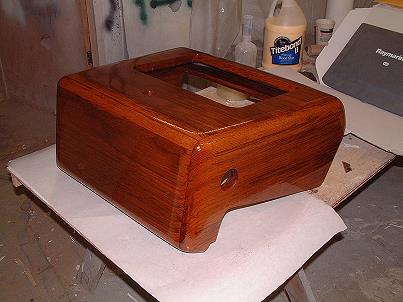 2 hours later, a full un-thinned coat of epoxy. 2 hours later, a full un-thinned coat of epoxy.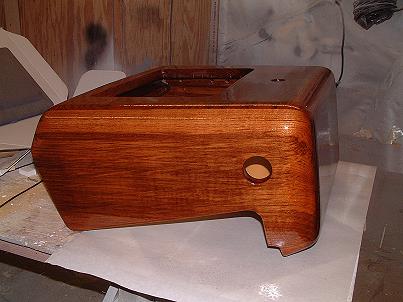 95% of the grain is gone... 95% of the grain is gone...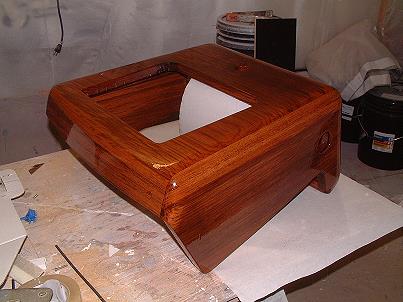 This will cure for up to 48 hours before sanding. This will cure for up to 48 hours before sanding.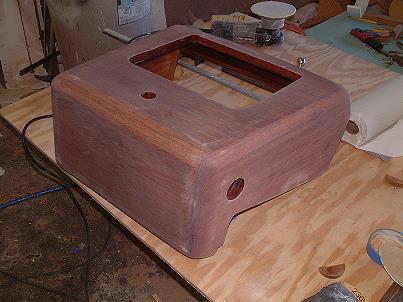 Got lucky and epoxy cured hard as nails in 24 hours... Got lucky and epoxy cured hard as nails in 24 hours...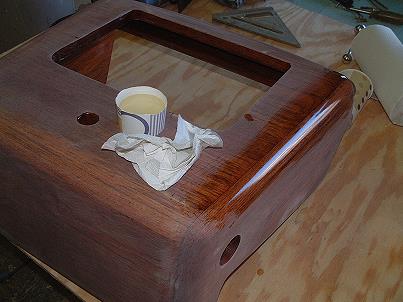 A final wipe of un-thinned epoxy rubbed on. A final wipe of un-thinned epoxy rubbed on.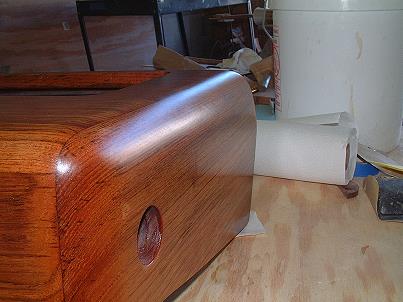 All sanding was done with 180 grit... All sanding was done with 180 grit...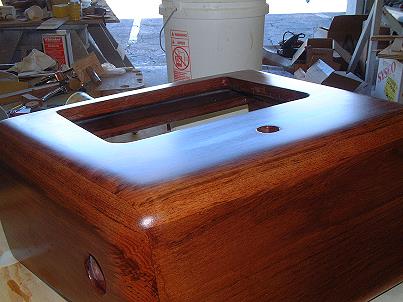 Zero grain... Zero grain...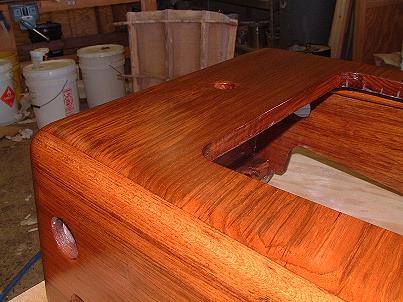 No subsurface deviation deeper than .0001" No subsurface deviation deeper than .0001"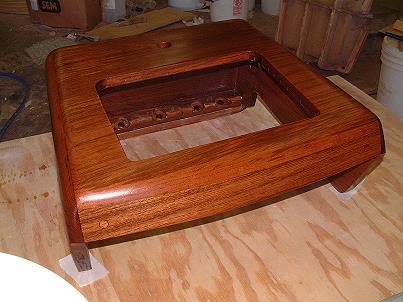 After curing, rub down with medium Scotch Brite pad. After curing, rub down with medium Scotch Brite pad.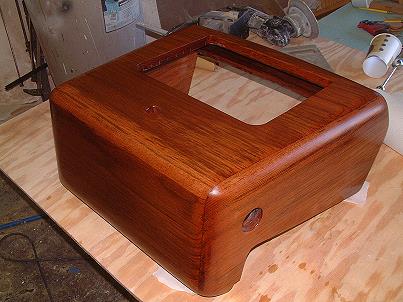 1st 6 coats of varnish build to be done over next 3 days 1st 6 coats of varnish build to be done over next 3 daysApproximately 14 coats of Epifanes varnish will be applied with a spray gun, that will get us into Page 3. -- Back to Page 1 -- |
834 Scott Dr. LLANO, TX 78643 Telephone 325.248.0809
Web site questions or comments to: bertram31@bertram31.com