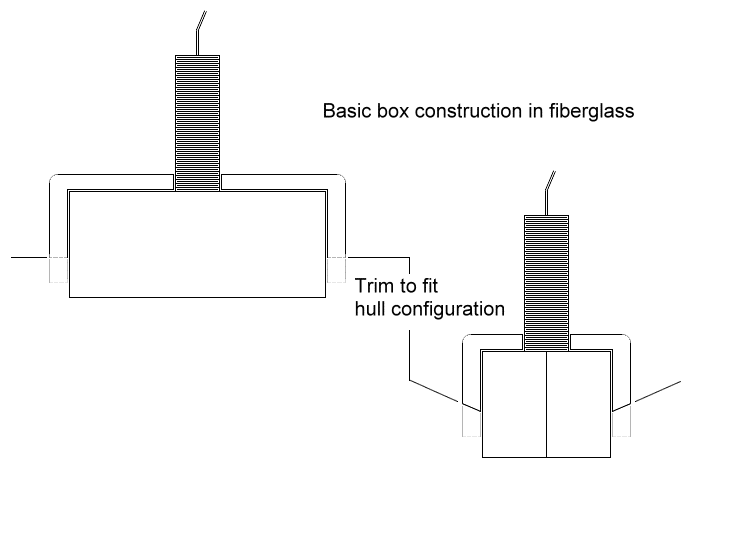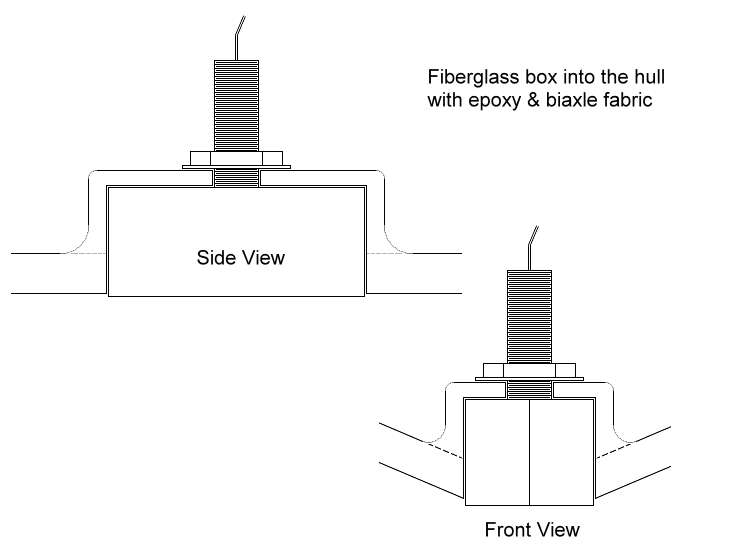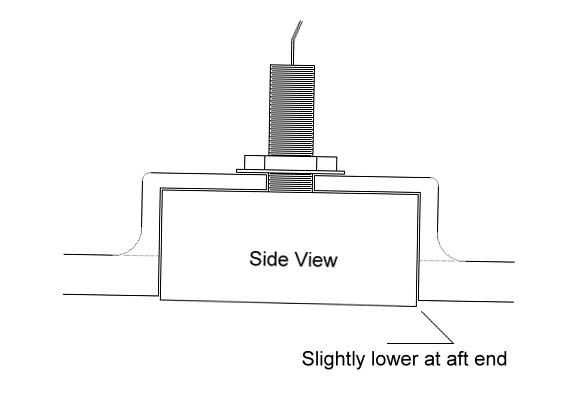
Building an In Hull Transducer CavityThe two most common ways of mounting a transducer into the hull are through hull, where the transducer is externally mounted to the hull and in hull where the transducer is mounted inside of the hull. The drawbacks of through hull transducer, especially the big bronze units, is parasitic drag and the potential to be damaged by hitting an object while at high speed. The draw back to in hull transducers is shooting the signal through the hull with out loosing signal strength. There can be absolutely no air pockets between the face of the transducer and the thicker the solid fiberglass hull is the weaker the signal transmission will be. However, there is another alternative to mounting the transducer that will overcome all of the previously mentioned draw backs. That is to cut a hole the full shape and size of the transducer into the hull so the transducer face can be mounted flush with the hull surface. This will require a heavy fiberglass box to be built and fitted to the inside of the hull, making a pocket in the hull for the rest of the transducer to reside. The first step would be to build a form fitting fiberglass shell around the transducer. To allow for the shrinkage of the glass and room sealant, start by masking off the transducer, including the stem, with 4 layers of masking tape. Use wide tape so as not to have overlap ridges which will make removing the initial glass layup more difficult. Try to keep the tape buildup as smooth as possible and be sure that the shape of the transducer doesn't present a negative draft which would make removal impossible. If necessary re-grind the profile of the transducer so the it tapers down from the face to the top. Be sure to wax or otherwise mold release the tape so that the fiberglass won't stick to the it... Remember that you'll need to remove the transducer later. Be careful not to over heat the bronze housing which could damage the electronic components inside or soften the epoxy potting material.  At the point your box has been built, remove the transducer from the box and remove the tape.   Install the transducer in the cavity with silicone adhesive/sealant. Because of the volume of surface area, installation with something like 3M 5200, 4200, or even 101, will make it virtually impossible to remove the transducer at a later date without destroying the fiberglass housing. I've mounted several transducers in this manner, usually right on the center line of the boat, (including two that were mounted into rather deep keels), and the results were excellent. Pretty much, the best of both worlds... Have fun! Feel free to download and print this article, but please don't use it on a website without linking it to Bertram31.com. Capt Patrick McCrary Bertram31.com 834 Scott Dr., LLANO, TX 78643 Telephone 325.248.0809 Web site questions or comments to: bertram31@bertram31.com |
